
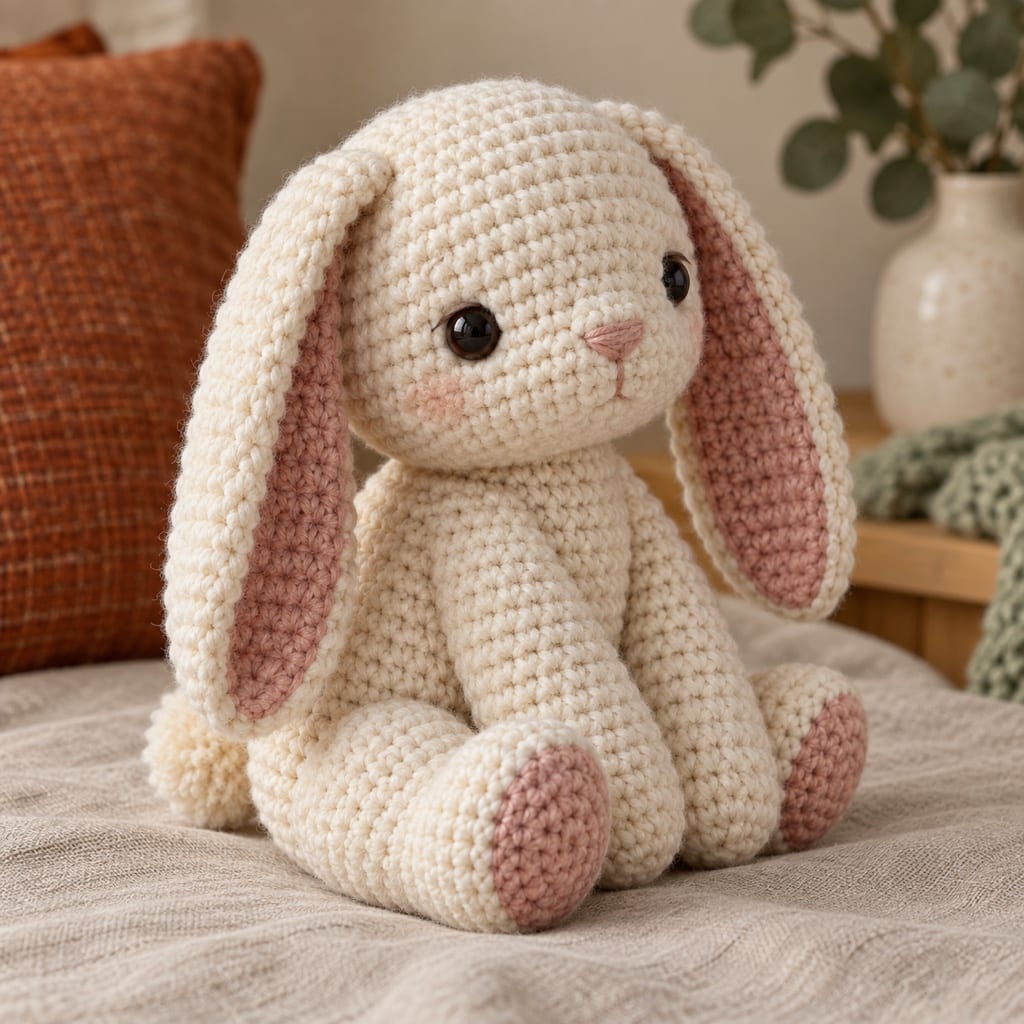
Lop-Eared Bunny — Free Amigurumi Pattern
A free crochet amigurumi lop-eared bunny pattern with round-by-round instructions, stitch counts and assembly. Sport weight, 2.5 mm hook, about 11 cm tall.
- Difficulty
- beginner
- Yarn weight
- sport
- Hook
- 2.5 mm
- Finished size
- 11 cm
Long folded ears are what make a bunny read as a bunny. They are worked flat at the tip and left unstuffed so they fall forward on their own.
Before you start
Work in a continuous spiral without joining rounds, and move a stitch marker up
as you go. Every dec is an invisible decrease.
Numbers in brackets are the stitch count at the end of the round.
Abbreviations: MR magic ring · sc single crochet · inc two sc in one stitch · dec invisible decrease · st stitch.
Gauge is not critical, but the fabric must be dense enough that stuffing does not show through. If it does, drop a hook size.
Head
- Round 1: 6 sc in magic ring [6]
- Round 2: inc in each st around [12]
- Round 3: [sc 1, inc] 6 times [18]
- Round 4: [sc 2, inc] 6 times [24]
- Round 5: [sc 3, inc] 6 times [30]
- Rounds 6–10: sc in each st around [30]
- Round 11: [sc 3, dec] 6 times [24]
- Round 12: [sc 2, dec] 6 times [18]
- Round 13: [sc 1, dec] 6 times [12]
- Round 14: dec around [6]
Place the safety eyes between rounds 7 and 8, six stitches apart. Stuff firmly before the last two rounds.
Body
- Round 1: 6 sc in magic ring [6]
- Round 2: inc in each st around [12]
- Round 3: [sc 1, inc] 6 times [18]
- Round 4: [sc 2, inc] 6 times [24]
- Rounds 5–10: sc in each st around [24]
- Round 11: [sc 2, dec] 6 times [18]
- Round 12: [sc 1, dec] 6 times [12]
- Round 13: dec around [6]
Stuff as you close, keeping the shape slightly pear-like rather than round.
Ears — make 2
- Round 1: 5 sc in magic ring [5]
- Round 2: inc in each st around [10]
- Rounds 3–11: sc in each st around [10]
Do not stuff. Flatten the ear and sc across the top to close it.
Arms — make 2
- Round 1: 5 sc in magic ring [5]
- Rounds 2–7: sc in each st around [5]
Stuff very lightly, only the lower half.
Legs — make 2
- Round 1: 6 sc in magic ring [6]
- Round 2: inc in each st around [12]
- Rounds 3–7: sc in each st around [12]
Stuff firmly enough that the bunny sits without tipping.
Assembly
- Sew the head to the body across the last two rounds of the body, tilting it slightly back so the bunny looks up.
- Pin the ears to rounds 3 and 4 of the head, about seven stitches apart, with the flattened edge facing forward. Sew across the base so they fold rather than stand.
- Attach the arms at round 6 of the body and the legs at the last increase round, angled forward.
- Embroider a small pink nose over rounds 1 and 2 of the head, with two short stitches running down to the muzzle.
Making it a different size
Every stitch count here scales together. To make this 11 cm lop-eared bunny larger or smaller, scale the magic ring and each round by the same factor — the pattern resizer does the arithmetic and rewrites the increase rounds. To keep the size but use a different yarn, the yarn weight converter shows what changes.